

The key steps for replacing a ceiling light bulb are to first switch off the power supply, remove the lampshade, fit a new, compatible bulb, refit the lampshade, and test the light by switching it on.
1. Switch off the power supply first
This is the primary safety requirement for the operation. You can switch off the circuit breaker for the room in question or disconnect the switch for the relevant circuit in the distribution box. It is best to use a voltage tester to confirm that the light fitting is completely de-energised before proceeding. Under no circumstances should you carry out work whilst the circuit is live, to avoid the risk of electric shock.
2. Remove the ceiling light shade
The method for removing the shade varies slightly depending on the design: snap-fit shades usually have 2–4 plastic clips around the edge; gently pry these open to lift the shade off; twist-off shades need to be turned anticlockwise by about a quarter turn to remove them; magnetic ultra-slim ceiling light shades can be separated by simply pulling them downwards; for models with a frame, remove the fixing clips or frame first before removing the shade.
3. Removing the old bulb
First, check the type of socket the original bulb uses. Common domestic types include the large E27 screw base, the small E14 screw base and the B22 bayonet base: for screw-in bulbs, simply unscrew them by turning anti-clockwise; For snap-fit bulbs, hold the bulb firmly whilst turning it anti-clockwise by approximately 45 degrees to remove it.
4. Fit the new bulb
Ensure you select a new bulb that perfectly matches the original's socket type and wattage. Do not exceed the maximum wattage specified on the light fitting to prevent overheating and potential safety hazards. For screw-in bulbs, tighten clockwise to secure; for snap-fit bulbs, align them with the slots, press them into place, then turn clockwise until they click into position.
5. Refit the lampshade and test the circuit
Refit the lampshade by following the disassembly steps in reverse order. Once you have confirmed that the clips are securely fastened and the lampshade is correctly positioned, switch on the circuit breaker and turn on the light switch to check that the new bulb illuminates correctly.
You may also take this opportunity to wipe away any dust or stains from the lampshade. If bulbs continue to burn out frequently after replacement, this may be due to unstable mains voltage or poor contact in the bulb socket; in such cases, the circuit will need to be inspected further or the socket replaced. If the fixture is a smart ceiling light, ensure the power is completely switched off before replacing the bulb to avoid damaging the internal circuit board. If you encounter difficulties removing the lampshade yourself, do not force it open; it is best to contact a qualified electrician to handle the task to avoid damaging the light fitting or causing an accident.
Luxsky Lighting offers a wide range of IP65 LED bulkhead lights with microwave, PIR, and daylight sensor options for commercial and outdoor applications.
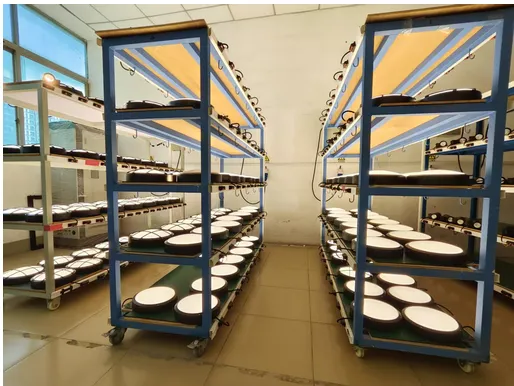
If you are looking for energy-efficient sensor bulkhead lighting solutions for your next project, feel free to contact us for more information.





