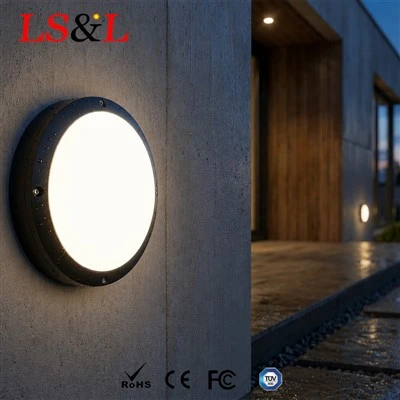
Many overseas clients report water damage even with high-ingress-rated fixtures. After years in engineering lighting foreign trade, I've found most leaks stem from poor installation rather than product defects. Below I share practical methods to stop water entry when fitting a bulkhead light.
1. Inspect sealing parts right after delivery
Check gaskets, cable glands and washers upon unpacking. Before installing an led bulkhead light, confirm the rubber seal is free of deformation, cracks or missing sections. Rubber components on low-cost units often harden and age during long storage. Never fit the fixture with faulty seals; ask your supplier for replacements, otherwise the stated IP rating will not hold.
2. Route cable entries to follow water flow
Always point cable glands downward, a simple step often overlooked. When an IP65 bulkhead light is mounted on exterior walls or in damp workshops, downward cable entry prevents rain and condensation from wicking into the housing. Avoid upward-facing glands. Even tightly sealed, temperature swings create trapped condensation that gradually seeps into the driver compartment and triggers short circuits.
3. Proper cover closure and screw tightening
Seat the gasket fully inside its groove without twisting or pinching cables. Fasten screws diagonally and evenly after closing the cover, instead of tightening one side fully first. Uneven pressure opens gaps and causes local seal failure. Pay extra attention to round and oval models; a shifted gasket will break the waterproof barrier.
4. Match cable diameter to cable gland size
The gland must fit the outer diameter of the cable. If the cable is too thin, the internal rubber sleeve cannot clamp tightly and leaves gaps. Strip insulation far enough away from the fixture so bare copper sits outside the gland. Do not coil excess cable inside the housing, as trapped moisture will build up inside the unit.
5. Prepare the mounting surface and wall cutouts
Fixture IP protection alone cannot stop water if the wall itself leaks or stays damp. Use a flat, even mounting surface; uneven surfaces prevent tight housing contact. For exterior locations, add a simple drip shield above the base to reduce direct rain splash. Do not fully seal the back of the fixture with silicone. Some models require limited ventilation to balance internal pressure and reduce condensation.
6. Ongoing inspection and maintenance tips
Installation is not the end. Check regularly for cracked housings, loose screws and hardened gaskets. Never spray high-pressure water directly onto seams or cable glands in wash-down zones. High-pressure jets can bypass the seal and force water inside.

If you run outdoor or high-humidity lighting projects and want to cut water-related returns, share your site conditions with me. I can recommend suitable fixtures and waterproof installation practices to lower after-sales risk.