

Removing a ceiling light requires careful, step-by-step procedures, as detailed below:
I. Disconnecting the Power Supply
The first step is to disconnect the power supply; this is essential for ensuring safety during the operation. After switching off the light switch, it is advisable to switch off the main circuit breaker to ensure the circuit is completely disconnected. If the light fixture is installed at a considerable height, use insulated tools (such as insulated gloves or a voltage tester) to confirm that no current is flowing before proceeding, to avoid the risk of electric shock.
II. Removing the Lampshade
The method of fixing the lampshade directly affects how it is removed:
- Threaded type: If the edge of the lampshade has threads, hold the base of the lampshade with both hands and turn it clockwise by approximately 90 degrees. Once the threads have loosened, gently pull downwards to remove it.
- Snap-fit type: These lampshades are usually attached to the lamp body via plastic snap-fits. Apply even pressure along the edge of the lampshade with your fingers or a thin tool; once you hear a 'click', gently push downwards. The lampshade will detach once the snap-fits have released.
- Special designs for modern minimalist lights: For some light fittings (such as those with I-beam metal brackets), the shade may be attached to the rear bracket with screws; you will need to remove the bracket screws before taking off the shade.
III. Separating the lamp body from the mounting bracket
- Standard ceiling lights:
Locate the screws (usually 2–4) where the lamp body connects to the ceiling and use a screwdriver to unscrew them by turning anti-clockwise.
If the screws spin freely (i.e. the screw heads turn without loosening), use needle-nose pliers to grip the middle of the screw to increase friction, then turn it with a screwdriver.
Once the screws are fully loosened, support the base of the light fixture with both hands and pull it down slowly, whilst checking the wiring connections to avoid applying excessive force and breaking the wires.
2. I-shaped metal bracket mounting:
This type of light fitting has an 'I'-shaped metal bracket on the back; you must first loosen the fixing screws on both sides of the bracket.
Locate the gap between the bracket and the light body (usually situated at the edge of the bracket), then slide the light body horizontally along the gap. Once the light body has completely separated from the bracket, remove it.
IV. Handling the electrical connections
If you need to remove the light fitting completely, you must disconnect the wires:
- Wrap the wire joints with insulating tape or secure them with terminal blocks to prevent short circuits.
- If the light fitting is to be retained in its current position, coil the wires and secure them with insulating tape inside the ceiling cavity to facilitate future installation.
Important notes: Insulated gloves must be worn throughout the operation. If the light fitting weighs more than 5 kg, it is recommended that two people work together to remove it; if you are unfamiliar with the electrical circuit, contact a qualified electrician for assistance.
Luxsky Lighting offers a wide range of IP65 LED bulkhead lights with microwave, PIR, and daylight sensor options for commercial and outdoor applications.
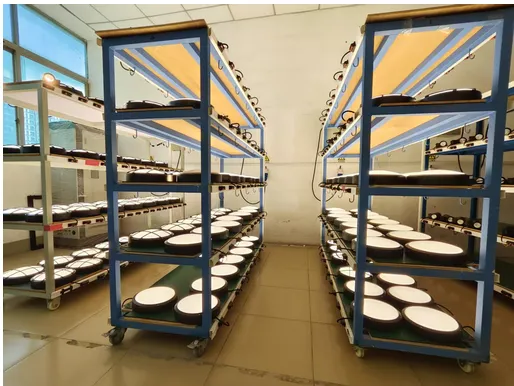
If you are looking for energy-efficient sensor bulkhead lighting solutions for your next project, feel free to contact us for more information.





