Many overseas clients struggle to adjust the sensing range after receiving sensor lights. Common issues include false triggers from overly long detection distance, or lights switching on only when people stand right underneath due to a short range. Drawing on years of export experience, I have put together a practical on-site tuning guide. Today we cover how to set the detection range of an LED bulkhead light.
Understand Sensor Specifications First
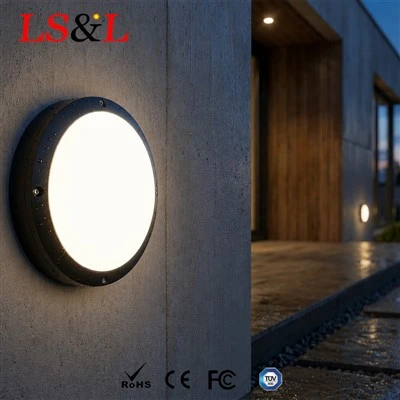
Before adjustment, check the datasheet to confirm the rated detection range. Microwave and PIR sensors work on different principles and offer different adjustable ranges. PIR sensors are affected by temperature and obstructions, with a fixed viewing angle. Microwave sensors have stronger penetration and wider adjustability. Never set the sensor to maximum range straight away - this is a frequent mistake. Many projects use round bulkhead lights equipped with adjustable sensor modules for flexible parameter setup.
Match Detection Range to Site Dimensions
Measure the width of the passage and pedestrian routes before deciding your target detection range. For narrow long corridors, you do not need maximum coverage. Ensure the light activates as people enter the start of the aisle. For open equipment rooms or remote warehouse corners, you may extend the range moderately. An oversize detection zone picks up movement from adjacent areas and causes unwanted activation. For outdoor routes, also factor in pedestrian and vehicle paths.
Environmental Conditions Affect Actual Performance
The rated range is tested under ideal lab conditions. Real site conditions change sensor behaviour significantly. Metal structures reflect microwave signals and virtually expand detection coverage. Walls and racks block signals and shorten the sensing distance. Extreme high or low temperatures also impact sensor sensitivity. For damp and dusty factory sites, many buyers choose IP65 bulkhead lights. These fixtures deliver reliable protection, yet their housing slightly weakens sensor signals, so leave a margin during tuning.
Step-by-Step Tuning Process
- Start with the minimum detection range, then increase it gradually while testing with someone walking through the area.
- Run multiple tests from different angles. Confirm reliable activation for normal traffic without picking up movement outside the target zone.
- After locking the detection range, calibrate the hold time together. Proper coordination of both settings achieves optimal energy savings.
- Record the final parameters for consistent setup during maintenance or fixture replacement.
Troubleshooting Common Issues
If performance remains unstable after setup, check for metal interference first, then verify the mounting height against the manual. Too high an installation stretches the detection zone, while too low placement creates blind spots.
Wrap-up
There is no universal ideal detection range; bigger is not always better. The goal is to match the range to the aisle size, avoid interference sources and fine-tune with on-site tests. Relying only on datasheet values without real-world testing often leads to false triggering or failed detection.

If you are working on a sensor lighting project and need guidance on detection range and hold time settings, or require a tuning guide for your installation team, send over your site drawings and fixture models. We will prepare a tailored commissioning plan for you.