

To replace the bulb in a rectangular ceiling light, you must first switch off the power, then remove the lampshade, replace the bulb, refit the lampshade, and finally switch the power back on to test it. Take care to observe safety precautions during the process and select the appropriate method according to the type of light fitting.
I. Preliminary Preparations and Safety Measures
1) First, switch off the light fitting's power switch and ensure the main circuit breaker is disengaged to prevent electric shock.
2) Depending on how the shade is secured, have a flat-head or Phillips screwdriver, a suction cup, a sturdy ladder or stool, and a clean cloth to hand.
II. Removing the Lampshade (Two Common Types)
1) Snap-fit lampshades: Gently press the edge of the lampshade with your hand or a suction cup to locate the snap-fits. Press the snap-fits inwards whilst slowly pulling the lampshade downwards to detach it from the light fitting.
2) Screw-fixed lampshades: Use the appropriate screwdriver to unscrew the fixing screws around the lampshade. Carefully remove the lampshade and place it on a soft, flat surface to prevent scratches.
III. Replacing the Bulb
1) Common bulbs for rectangular ceiling lights include LED modules, H-tube fluorescent tubes and E27 screw-in bulbs.
2) Replacing an LED module: For integrated LED modules, unscrew the fixing screws on both sides, disconnect the power connector, replace with a module of the same model, then reconnect.
3) Replacing H-tube fluorescent lamps: Gently rotate the tube 90 degrees to release it from the socket's retaining groove. Remove the old tube, then align the new tube with the groove, rotate it 90 degrees to secure it, and ensure good contact.
4) Replacing screw-in bulbs: Unscrew the old bulb by turning it anti-clockwise. Check the socket for damage, then screw in the new bulb clockwise, taking care not to overtighten it and damage the socket.
IV. Fitting the Lampshade and Testing
1) Align the lampshade with the clips or screw holes on the lamp body, and follow the reverse order of the dismantling procedure to ensure the clips are securely fastened or the screws are tightened.
2) First switch on the main circuit breaker, then turn on the light switch to check whether the bulb lights up normally; if it does not, check the power connection or the bulb installation.
V. Precautions
1) Before replacing the bulb, ensure the new bulb matches the original luminaire in terms of wattage and socket type to prevent overloading or incompatibility.
2) Do not pull on the wires during operation; when replacing LED modules, ensure the positive and negative terminals are connected correctly.
3) If the lampshade is heavy or the installation position is high, it is recommended that two people work together to ensure safety.
Luxsky Lighting offers a wide range of IP65 LED bulkhead lights with microwave, PIR, and daylight sensor options for commercial and outdoor applications.
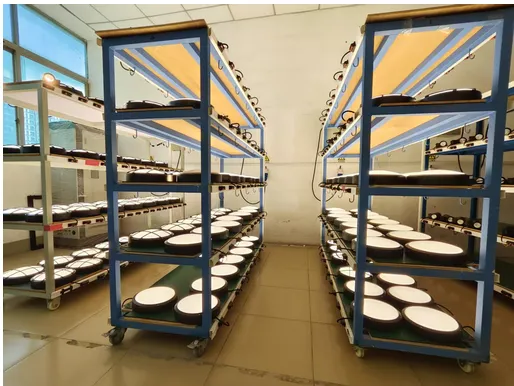
If you are looking for energy-efficient sensor bulkhead lighting solutions for your next project, feel free to contact us for more information.





