Before replacing a ceiling light or repairing it, carefully disassembling it is a crucial first step. Safety is the first principle. Before starting the operation, be sure to cut off the power supply of the relevant circuit - find the corresponding air switch in the distribution box and completely disconnect it, which is like building a dam to isolate dangerous currents. Next, prepare a stable stepladder and ensure that it is placed stably. At the same time, prepare a cross screwdriver and a wrench for tightening the nut. These small tools will play a key role in subsequent operations.
When climbing the stepladder, please stabilize your body's center of gravity first. The disassembly process usually starts with the removal of the lampshade: the common ceiling light lampshade may be fixed on the chassis by several rotating clips. At this time, you need to gently hold the lampshade with your hand, and carefully rotate the lampshade itself or the small clip on it counterclockwise with your other hand to loosen and remove it; other lampshades are fixed by spring clips. You only need to gently pinch the end of the clip with your fingers to shrink it inward, and the lampshade can be removed smoothly. After removing the lampshade, it should be placed properly and gently to prevent it from falling and breaking.
Remove the lampshade and the internal structure of the lamp will be revealed. The key task is to separate the connection between the lamp base and the ceiling: At this time, you need to carefully check the center of the base, where there is usually a protective decorative cover covering the fixing screws or nuts. Carefully remove this decorative cover, and you can see the key fasteners - it may be a large cross screw, or an expansion bolt nut with a pair of "small ears" for easy wrench operation. Use a suitable screwdriver or wrench to loosen it steadily and remove it completely. After the screws are removed, hold the base lamp body firmly with one hand, and slowly pull it down from the ceiling with the other hand. At this time, you need to pay attention to whether the internally connected wires are tightened, reminding them that they have not been separated.
After the lamp body is pulled down, you can see that the wires leading out of the lamp are tightly connected to the wires reserved in the ceiling through the wiring terminal. At this time, be sure to confirm again that the power switch is turned off! Then, carefully loosen the screws in the wiring terminal and separate the wires on the lamp body - usually the blue wire that distinguishes the neutral wire and the brown wire of the live wire - one by one from the corresponding wires reserved in the ceiling. At this point, the ceiling lamp is completely disconnected from the power supply and building structure and can be removed safely.
The entire disassembly process requires meticulousness and patience, and every link requires meticulous concentration. If you encounter a lamp with a complex structure or a strange fixing method, safety is the top priority. Do not act rashly. It is wise to ask a professional electrician to handle it in time.
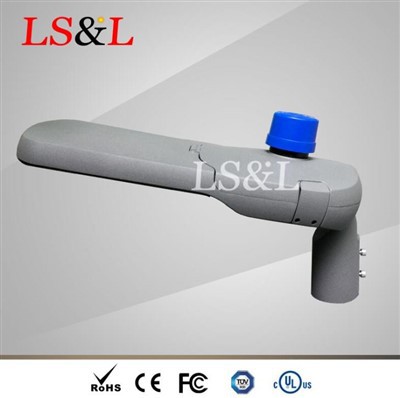
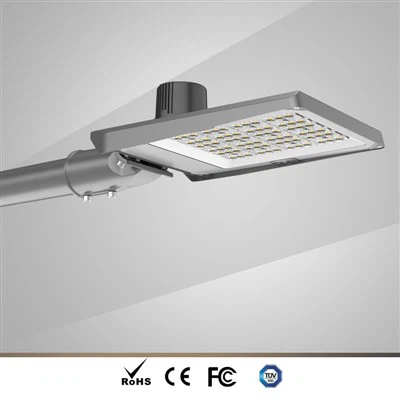
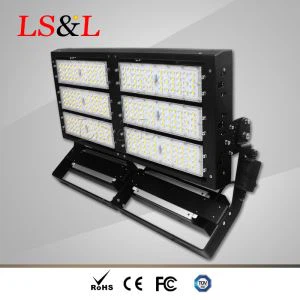
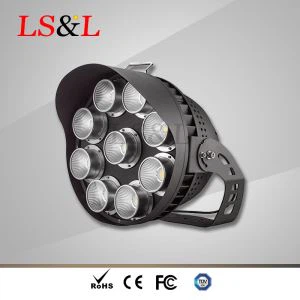
Luxsky's new ceiling lamps are very easy to install and disassemble. Welcome to buy them.