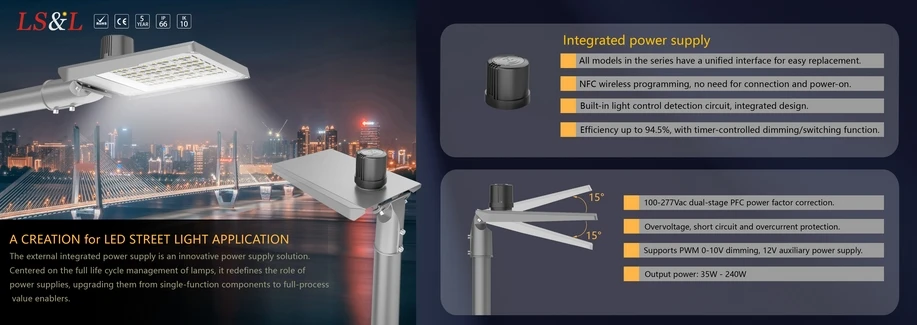
Working in street light export, it's common to come across clients who are handling a high-power LED street light project for the first time and aren't quite familiar with the installation process. As a highly efficient and energy-saving lighting solution, installing a high-power LED street light might sound as simple as "putting it up," but in reality, every step - from site selection and wiring to fixture mounting - requires a certain level of technical knowledge and hands-on experience. Even a small oversight can affect lighting performance or, worse, create electrical safety risks. Drawing on experience working with overseas engineering projects, let's walk through the installation process for high-power LED street lights step by step, hopefully offering some useful reference for anyone currently planning a street lighting project.
Step 1: Determine the Right Installation Position
Before installing a high-power LED street light, the first task is to determine the installation position based on sound calculations. Generally speaking, mounting height should be calculated based on road width, traffic volume, and applicable lighting standards. Installing the light too low will limit coverage, while mounting it too high can waste light output or cause glare issues. It's also important to factor in the fixture's beam angle and effective lighting distance to plan pole spacing appropriately - this ensures uniform illumination while balancing energy efficiency and cost control. This step forms the foundation of the entire installation process and directly determines how well the lighting performs afterward.
Step 2: Prepare the Necessary Installation Materials
Choosing the right installation materials is equally important. Installing a high-power LED street light typically requires basic materials such as screws, expansion anchors, waterproof cables, and terminal connectors, with specific specifications selected based on the pole material, installation environment, and local climate conditions. For example, in coastal areas with high humidity, it's advisable to prioritize corrosion-resistant stainless steel screws and cable connectors with a higher waterproof rating, ensuring the installation remains stable and reliable long-term while avoiding safety risks caused by material degradation down the line.
Step 3: Carry Out Proper Electrical Wiring
Electrical wiring is the most critical part of the entire installation process - and the one that demands the most technical expertise. First, the cable needs to be connected to the street light's power line, after which it should be buried underground or routed inside the pole depending on site conditions. This not only keeps the installation looking clean but also prevents safety hazards associated with exposed cabling. Once the wiring is in place, the cable must be properly connected to the power distribution box or control switch to ensure the entire electrical system runs stably. This step should be handled by a licensed electrician, following local electrical safety codes strictly, to avoid short circuits or leakage caused by wiring errors.
Step 4: Securely Install the Pole Bracket
The quality of the bracket installation directly affects the overall stability and wind resistance of the street light. When selecting a bracket, factors such as local wind load, fixture weight, and installation environment should all be taken into account. Common bracket materials include hot-dip galvanized steel and aluminum alloy, both of which offer good weather resistance and structural strength. During installation, screws and expansion anchors should be used to firmly secure the bracket to the ground or wall. Once installed, it's a good idea to test the bracket's stability to confirm it can withstand long-term exposure to wind and rain without loosening or tilting.
Step 5: Mount the LED Fixture and Adjust the Angle
Once the bracket is securely installed, the LED fixture can be mounted. After fixing the fixture firmly onto the bracket, connect the power line and double-check that the wiring is correct. Then carefully adjust the fixture's direction and beam angle, as this step has a direct impact on the final lighting outcome. It's recommended to conduct an on-site illuminance test after installation and fine-tune the angle based on the actual measurements, ensuring both the coverage area and brightness meet the design requirements while avoiding dark spots or excessive beam overlap
Post-Installation Inspection Recommendations
Once all installation steps are complete, a power-on test should be carried out to confirm the fixture lights up properly and maintains stable brightness. At the same time, check all wiring connections for any signs of looseness or water ingress risk, ensuring the entire system can operate safely and reliably under a range of weather conditions. If you run into specific installation challenges during your project, feel free to reach out - we're happy to offer professional installation guidance and technical support tailored to your project's actual conditions.
Conclusion
The installation outcome of a high-power LED street light largely depends on whether the product's quality and structural design can hold up under long-term use. At Luxsky Lighting, we maintain strict control from fixture structural design through to final factory inspection, ensuring every LED street light offers reliable installation compatibility and a long service life. If you're looking for a trustworthy high-power LED street light supplier, feel free to reach out to Luxsky Lighting - we'd be glad to provide professional support for your project.