

After more than a decade in lighting exports, new-factory clients most often ask how to plan lighting from the start-what fixtures to choose, how to arrange them, and how easy they will be to maintain later. Here is a practical planning approach based on field experience.
Step 1: Define Zones and Task Requirements
Begin by dividing the factory into clear zones according to the work performed. General assembly, precision assembly, inspection, storage, and corridors all have different needs for illuminance, color temperature, and color rendering. General assembly usually requires 300–500 lux, while precision or inspection areas often need 750–1000 lux.
List the target illuminance, operating hours, and any special requirements for each zone. This information guides fixture selection and calculations.
Step 2: Calculate Illuminance and Fixture Quantity
Use the lumen method to estimate total light output and the number of fixtures. The basic formula is: number of fixtures = (target illuminance × area) ÷ (lumens per fixture × utilization factor × maintenance factor). In industrial settings the utilization factor is typically 0.5–0.7 and the maintenance factor 0.7–0.8.
Also check uniformity-the ratio of minimum to average illuminance should ideally be 0.6 or higher. Fixture spacing is commonly set at 1–1.5 times the mounting height.
Step 3: Select Fixtures Suited to Industrial Conditions
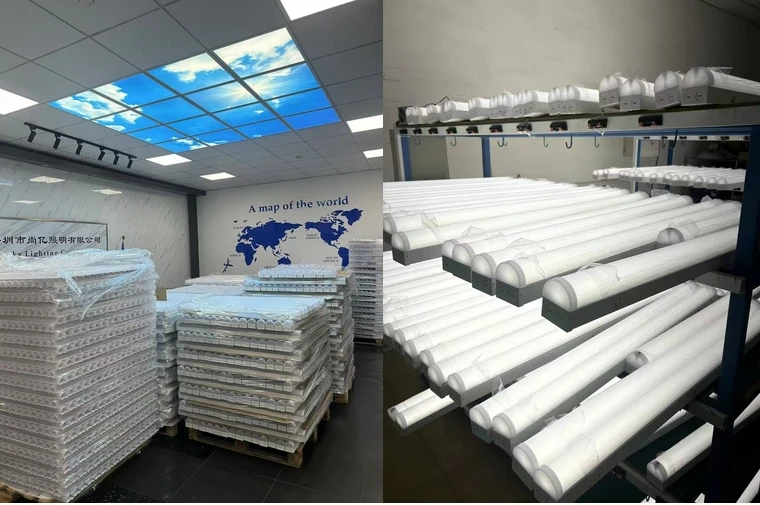
Factories are dusty and humid, so the fixtures themselves must be durable. Many new factories choose an ip65 led tri proof light that resists dust and water while delivering stable output. Linear options such as a weatherproof led batten light work well along production lines or long corridors, providing more even light and simpler installation.
Color temperatures between 4000K and 5000K are usual; CRI 80 or higher is generally sufficient, with higher values preferred for inspection zones. Where emergency coverage is needed, weatherproof lights with backup function can be considered.
Step 4: Plan Layout and Controls
Position fixtures along the work surface or aisle centerline to reduce shadows and dark zones. In high-rack areas pay attention to vertical illuminance so rack faces remain readable, not only the floor.
At the planning stage it is wise to allow for intelligent or zoned controls. Sensors, dimming, or time-based switching can lower energy use and make future expansion easier.
Step 5: Consider Long-Term Maintenance
When selecting fixtures, also think about cleaning and servicing. Higher protection ratings collect less dust and reduce water-ingress risk, helping keep illuminance stable over time. Leave a modest margin for later adjustments or added local lighting.
Many clients focus only on price and brightness at first and later face uneven light or early fixture aging. Building protection and layout into the plan from the beginning saves trouble later.
From years of working with factory clients, I know lighting planning for a new factory is not simply "how many lights." Task needs, calculations, fixture choice, and layout must be considered together. Good planning produces light that is practical and keeps energy and maintenance costs under control.
If you are planning lighting for a new factory, share the zone layout, ceiling height, and task types. I can help identify suitable tri proof lights and build a more reliable scheme. Solid planning gives the new factory usable light from day one.





