Replacing the LED wick in a ceiling light requires the following key steps and precautions:
1. Power Off:
Before proceeding, be sure to turn off the main power switch for the ceiling light.Use a voltage tester or multimeter to verify that there is no voltage at the lamp socket. Never operate while power is on.
2. Removing the Old Wick:
Carefully remove the lamp cover. Identify the old wick's mounting method (commonly screws, magnets, or clips) and remove the mounting.
Disconnect the wick from the lamp's power cord. Before disconnecting, it's recommended to use a mobile phone to record the connection locations of each wire (live, neutral, and ground). If using terminal blocks, use a screwdriver to loosen the terminal screws before separating the wires. Exercise caution to avoid damaging the wires.
3. Selecting and Matching the New Wick:
The physical dimensions of the new wick must match the mounting space on the lamp chassis.The new wick's voltage rating must match the original design (usually 220V AC).The wattage of the new wick should be the same or similar to that of the original wick. A wattage that is too high or too low is not suitable.The connector type (e.g., plug, terminal block) of the new wick must match the luminaire, or be capable of a reliable connection.
4. Installing the New Wick:
According to the previously recorded photos or the luminaire markings, correctly connect the live wire (usually brown, red, or marked with an "L") and neutral wire (usually blue or marked with an "N") of the new wick to the corresponding power wires of the luminaire. If a ground wire (yellow-green) is present, connect it accordingly. Ensure that the wires are securely connected and not loose.
Place the new wick securely on the luminaire chassis. Ensure that the wick's heat sink (usually the aluminum part) is in close contact with the metal chassis of the luminaire. This is critical for effective heat dissipation.Secure the wick securely using the original mounting method (screws, magnets, or clips).
5. Testing and Restoration:
Before installing the lamp cover, turn off the main power switch to test the new wick to confirm that it is functioning properly. After confirming that the light is illuminating properly, turn off the power again. Carefully replace the light cover.
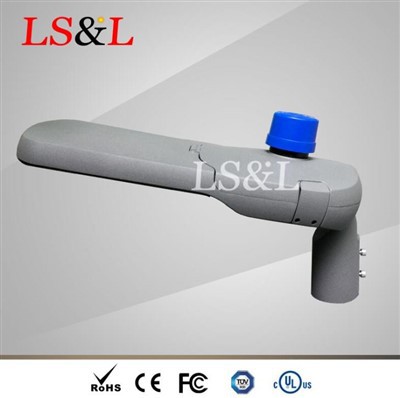
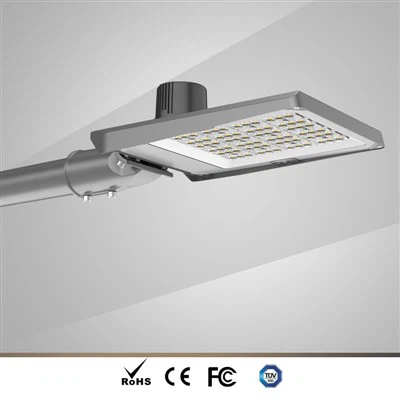
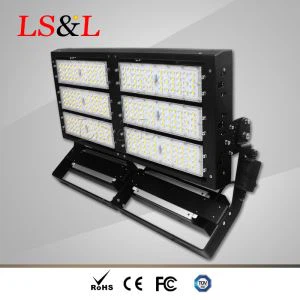
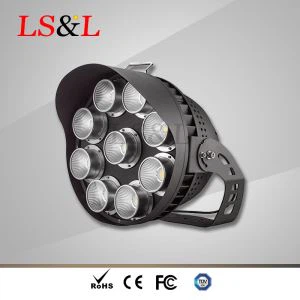
The ceiling light lauched by luxsky light is easy to install and change. Click the link to view.