

The steps for installing and removing a rectangular ceiling light are as follows:
Removal steps
1. Safety: Switch off the room's main power supply or the relevant circuit breaker, and use a voltage tester to confirm there is no electricity present to prevent electric shock.
2. Remove the lampshade: If it is secured with screws, use a screwdriver to unscrew the 3–4 fixing screws around the edge of the lampshade, then gently remove the lampshade; if it is secured with clips or springs, locate the clips along the edge of the lampshade and use a flat-bladed tool to gently pry open the clips or press down on the springs to release the lampshade from the fixture.
3. Remove the light fitting and wiring: Unscrew the screws securing the light fitting and remove it from the ceiling; note the wiring connections, loosen the terminal blocks, and disconnect the old light fitting from the power cable.
Installation Instructions
1. Secure the new light fitting: Align the mounting holes on the new light fitting with the holes in the ceiling, then secure it by tightening the screws.
2. Connect the wires: Reconnect the wires as recorded during dismantling, ensuring that the live wire is connected to the live wire, the neutral wire to the neutral wire, and the earth wire to the earth wire. Ensure the connections are secure; you may wrap them with insulating tape.
3. Fit the lampshade: Align the lampshade with the clips or screw holes on the lamp holder and fit it by following the disassembly steps in reverse. Ensure the clips are securely fastened and the screws are tightened firmly.
4. Power-on test: Switch on the power supply and check that the light fits illuminates correctly, with no flickering or unusual noises.
Handling Special Cases
1. Recessed rectangular ceiling lights: When removing, first take off the surrounding aluminium ceiling panels to expose the spring clips on the light fixture; press the clips to remove the light body. When installing, align with the hole in the ceiling, snap the spring clips into the ceiling joists, and secure the aluminium ceiling panels.
2. Ceiling lights with crystal or decorative fittings: Before removal, take off any crystal pendants or decorative fittings; when installing, reposition the fittings in their original locations.
3. Smart ceiling lights: When removing, disconnect the power connector from the smart module; after installation, the device must be re-paired with the network. Please refer to the product manual.
Safety Precautions
Ensure you have the necessary tools to hand, such as a screwdriver, pliers, insulated gloves and a sturdy ladder. Wear insulated gloves whilst working, handle the fixture with care to avoid damaging the light fitting or ceiling, and check for short circuits after connecting the wiring. If you are unfamiliar with electrical circuits or find the task difficult, it is recommended that you contact a qualified electrician.
Luxsky Lighting offers a wide range of IP65 LED bulkhead lights with microwave, PIR, and daylight sensor options for commercial and outdoor applications.
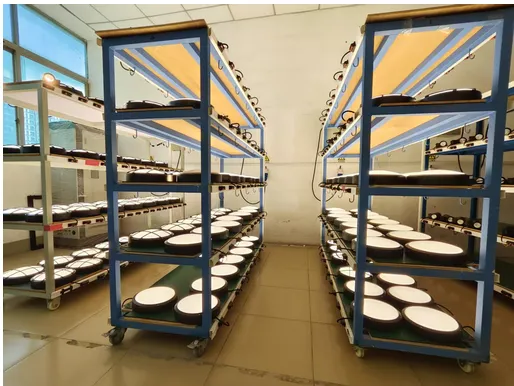
If you are looking for energy-efficient sensor bulkhead lighting solutions for your next project, feel free to contact us for more information.





